

A bowl wrapped in twine! Okay, so maybe it isn't exactly twine..but its rope like and twine like so therefore to me it's twine.
Materials:
- A plain or ugly old bowl (Mine was a cermaic bowl I made in fourth grade. It was a horrible yellow-green color)
- Hot glue gun
- Hot glue sticks
- TWINE
- Raffia (or whatever you want your bow to made of)

See, the ugly color of this bowl. It needed updating and it needed it STAT. First off, add a line of hot glue wherever you want the twine to start. For the sake of this tutorial, I had already glued a little bit of the twine on. It was hard to get a picture of the inital step alone! Once you add the hot glue, just lay the twine over it. You will press on it gently so that the twine really sticks to the hot glue and it sets.

This is what my bowl looked like after a few wraps with the twine. I had just finished one row and was moving on to the next. All you do for this step is put hot glue AS CLOSE to the previous twine line as you can and the glue will need to be put in a slightly thicker line this time. The rest is easy! Glue, wrap, glue, wrap, glue, wrap! Simple.
When I finished gluing and wrapping I made a bow out of raffia. Now, don't ask me what raffia is. I really have no idea. The texture reminds me of dried grass. I did not buy this product for myself. It was part of a huge crafting bucket my aunt gave me. I liked the way it fit in with the earthy vibe of the bowl and decided it would be perfect for this project. I grabbed a couple strands and turned it into a bow and hot glued it onto the of my new and improved bowl!
Now, on to the next project!

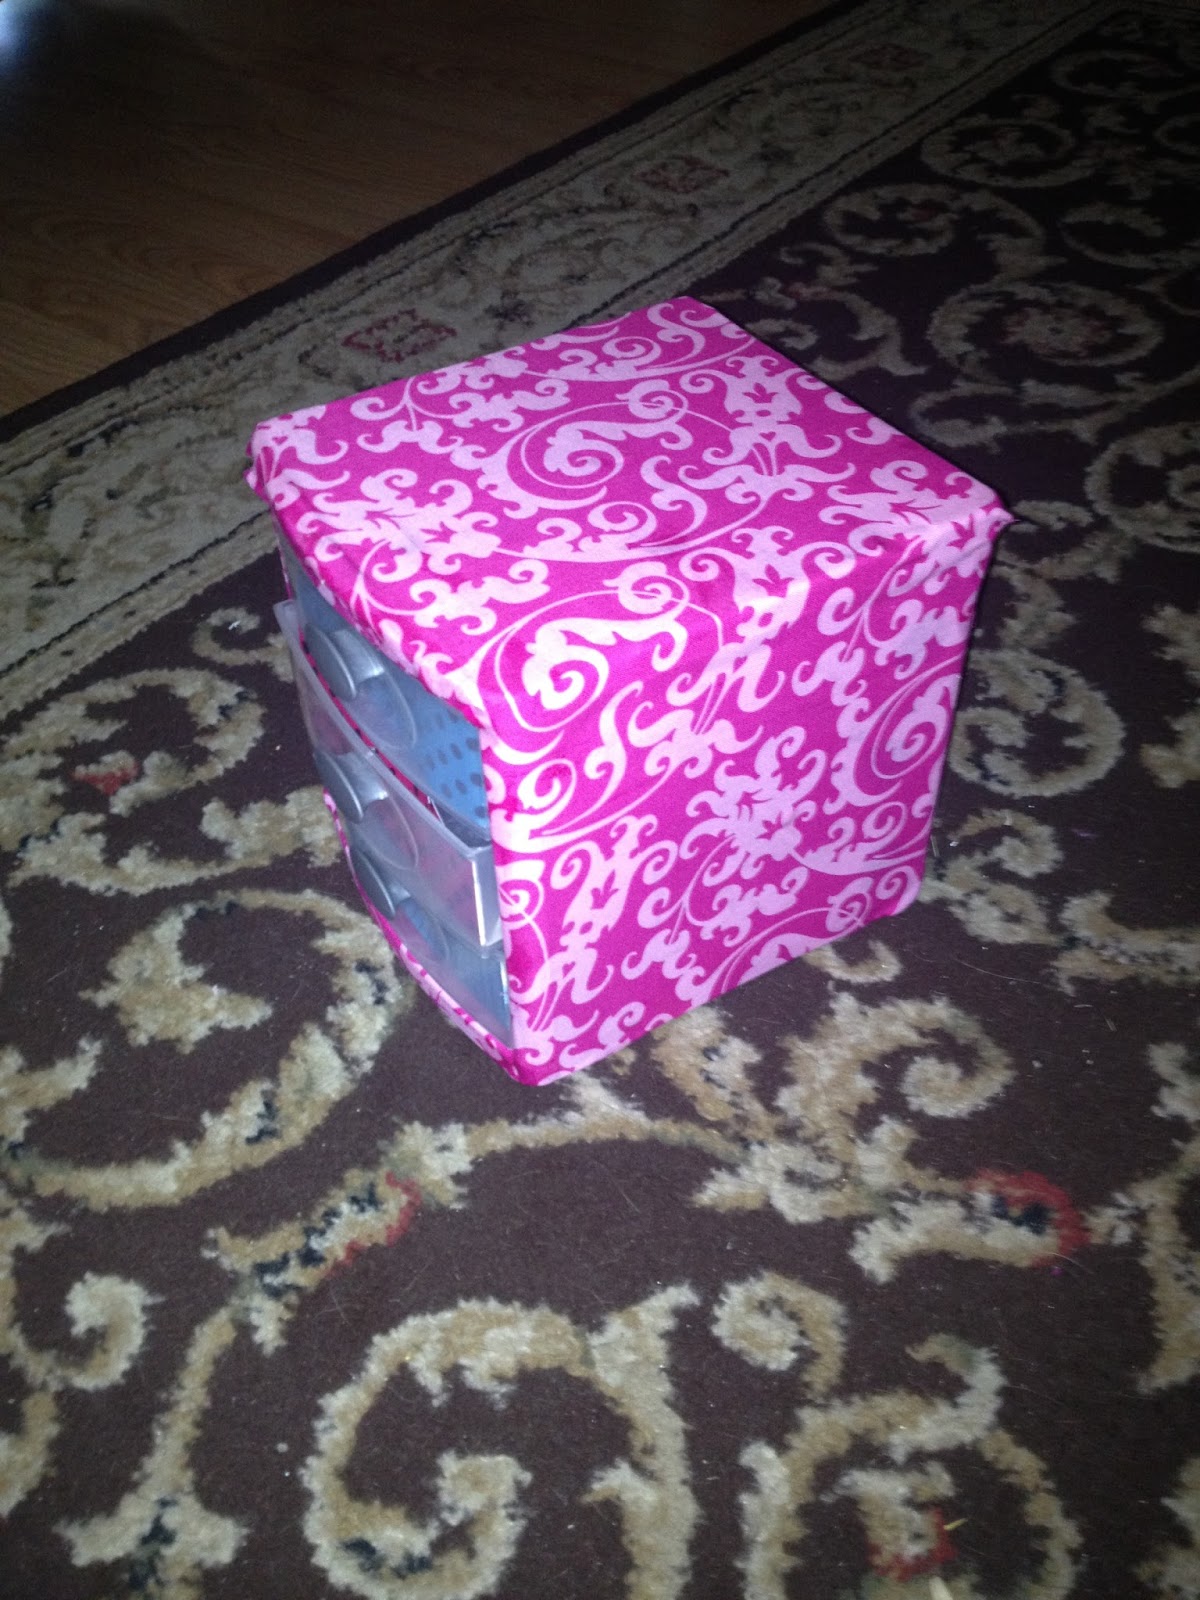
We've all seen those plastic storage bins in Target and I had one that was representative of my junior high. That needed updating if I even imagined bringing it to school with me. This was quick. One of the quickest crafts I think I've ever done.
Materials:
- Fabric
- Scrapbooking paper
- Tape
- Modge Podge
- Scissors
I didn't take very many pictures of this. Sorry, but its easy! Originally, I was just going to paint the storage container a new color but I had recently sewn some pillows and had excess fabric I was likely to never use again since I'm not really big on sewing. I ended up decopauging the fabric onto the storage bin using Modge Podge and a sponge brush! I cut out a piece slightly bigger than the back of the storage container and modge podged that on first. Then I modge podged the rest of the bin like a present. I layed the fabric over the top and modge podged that, then did the sides, and cut off the excess!

Customizing the bin was the easy part. There were a lot of tutorial on pinterest and the internet that explained this. Basically, all I did was cut out a piece of scrapbook paper and fold the bottoms and the ends so it would fit in the front of the bin. I then taped it and place and...done! It looks funky on the inside slightly, I know. However, from the outside you can't even tell. And you don't lose any space on the inside.

Super quick, super easy, and super cute! And super functional (;
No comments:
Post a Comment