

Here's the original fridge. You'll later realize how much like it it truly is.
This is my journey making it though, so let's begin!
Materials:
Rustoleum Chalkboard Paint
Rustoleum Tintable Chalkboard Paint (Mine is in moonstone)
Sponge Brush
Foam Roller
Paint pan
Painters Tape
Cardboard/durable yet cuttable material to make the chevron pattern on
Chalk (NOT sidewalk chalk)

This was my fridge when I started. Yes, it was brand new. I didn't sand my fridge as some websites suggest but that's because it was new and I just figured I didn't need to. If your fridge is older, you might want to. I taped off the parts of the fridge that I didn't want to become chalkboard.

I did however, prime my entire fridge. I only needed one coat to cover it to my liking.
All primed up!

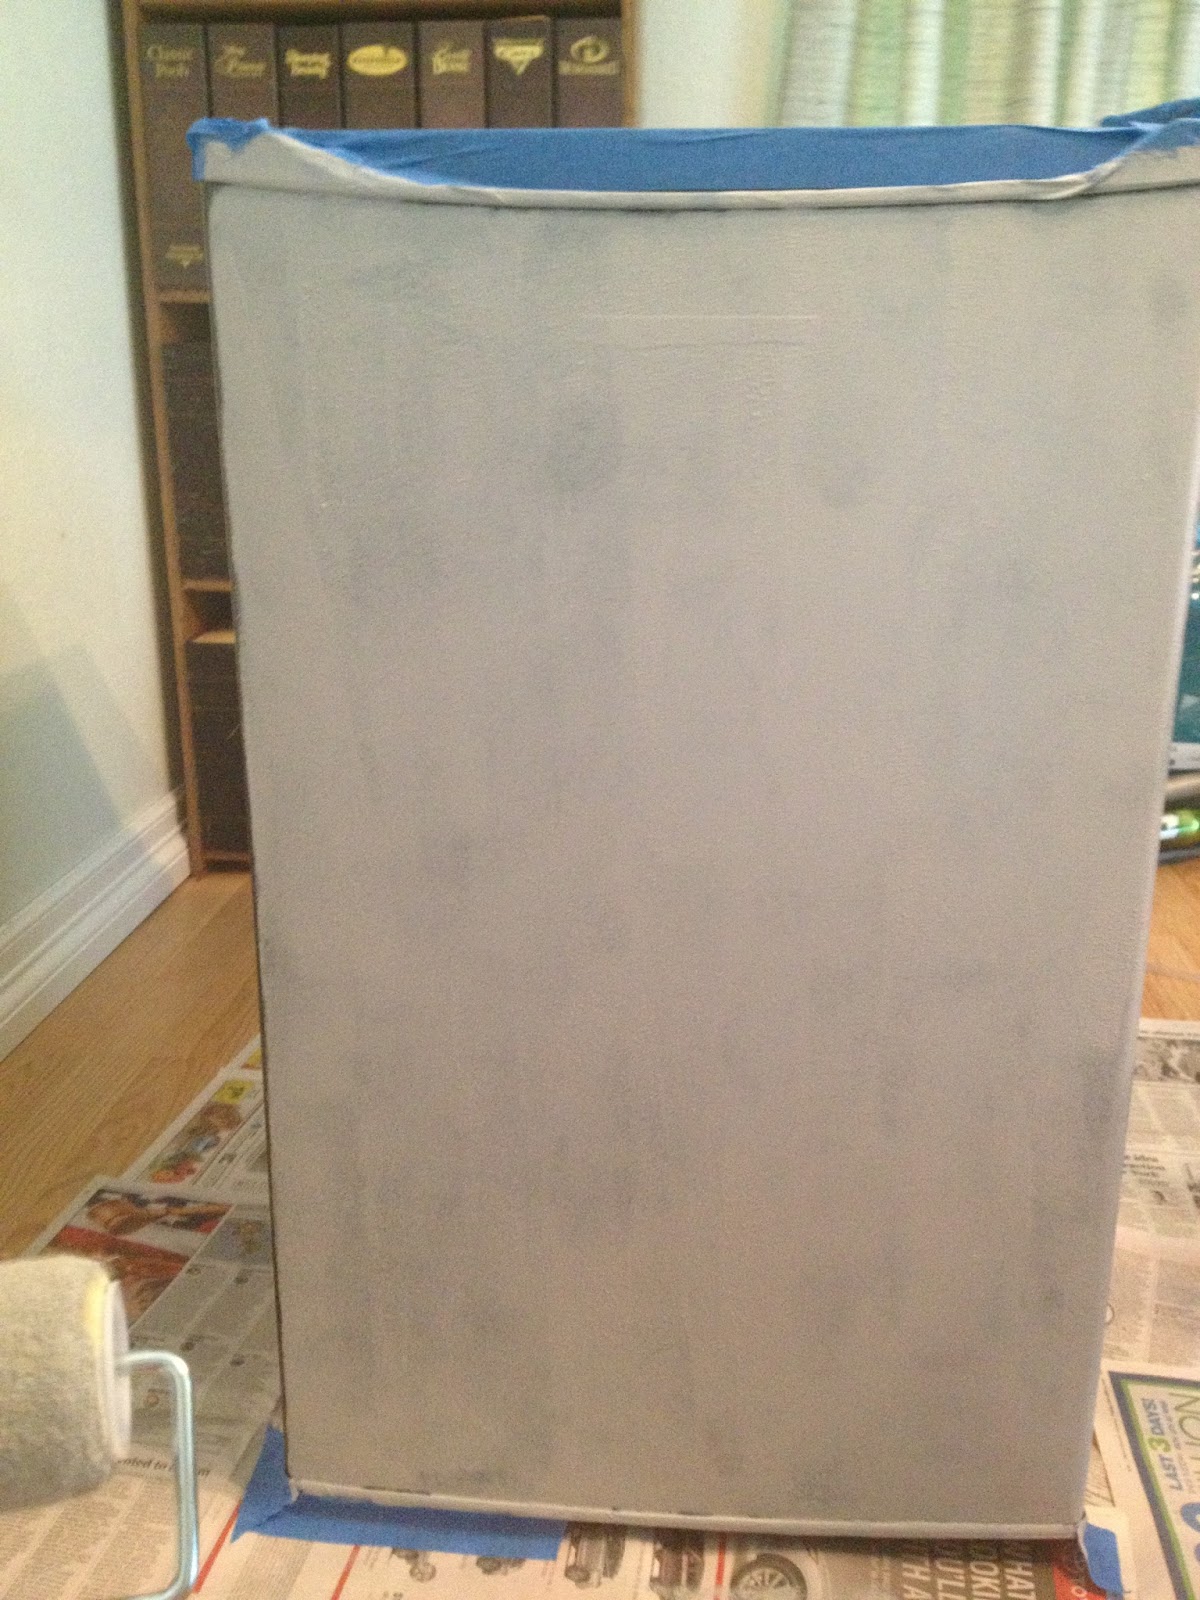
This was the chalboard paint I used to paint my fridge. This is the base color of the fridge.

All painted! Now, I knew I was going to add a second coat. I followed the directions per the paint and had to wait the allotted amount of time before I added the second coat. I don't know what would happen if you didn't wait the amount of time, but I also don't want to find out from personal experience! While waiting for the paint to dry and time to pass, I worked on making the base of my chevron pattern.
This next part was initially tricky! I had previously painted a chevron pattern once before on a wall in my room. It took FOREVER! I even swore I would never do a chevron pattern again. Well, we saw how that turned out. After reading Apartment Therapy however, (link is at the top of this blog) they eased my fears! Their method for it made so much sense and was truly easy.

Measure the width of your fridge (I skipped this step because it was on the box! Perks of a new fridge!) and divide that by 6. The number you get will be the dimensions of the squares you will need to draw. Draw 6 squares of those dimensions and two rows (see above). This will make your chevron pattern. On the top row, draw lines corner to corner. On the bottom do the same. (For a visual check out the link on top of the page, I never snapped a picture of it!)

When it finally comes time to paint your chevron, I found this the easiest way to do it. Once you cut out the shape per the template you made above it should look like this! I rolled up painters tape and placed in on the back of my chevron template so I could easily stick it to the fridge, tape off the shape, and keep both hands free.

See what I mean? Just place your template up there and get to taping! Now this is after I cut the shapes to how they should be. Notice the first chevron where the two pieces of tape are overlapping? That's how you should tape ALL of the pieces. Then with the template, hold it up to the peak and wherever the tape shows beyond that cut off using an exacto knife to get these sharp peaks.

This is the fridge all taped off and before I cut most of the peaks. Once cutting the peaks, I realized that I didn't want my chevron accent to be that large. I wanted the accent to be an accent, not take up most of the fridge. So what I ended up doing was adding tape beneath each chevron shape, lining it up right against the one on top so it was doubled. (I hope that makes sense I didn't take a picture....I'm awful, I know)

If you look carefully in this picture, you can kind of make out that second row of tape I'm talking about. I painted over most of it thought just by chance. I painted the chevron with the tintable chalkboard paint. I choose moonstone but there were at least 6 other color options to pick! I let the paint dry for at least two hours before I removed the tape.

The fridge once the tape was removed! I was so excited by how it turned out! Now, I waited four days before I conditioned my fridge. And when I finally did I made the mistake of using sidewalk chalk (because my dad convinced me it would work). It does not work! At least not for me. It didn't erase well and I ended up having to repaint that side because no matter how many times I wiped it down it wouldn't even kind of get clean. Regular teacher's chalk is the way to go here people. Thank goodness it was just ONE side.

This fridge excites me! I'm in LOVE with it and my roommates seem to like it as well! I was so excited to share this with y'all!
Very nice article, I enjoyed reading your post, very nice share, I want to twit this to my followers. Thanks!. SubZero Refrigerator repair In Coronado
ReplyDelete